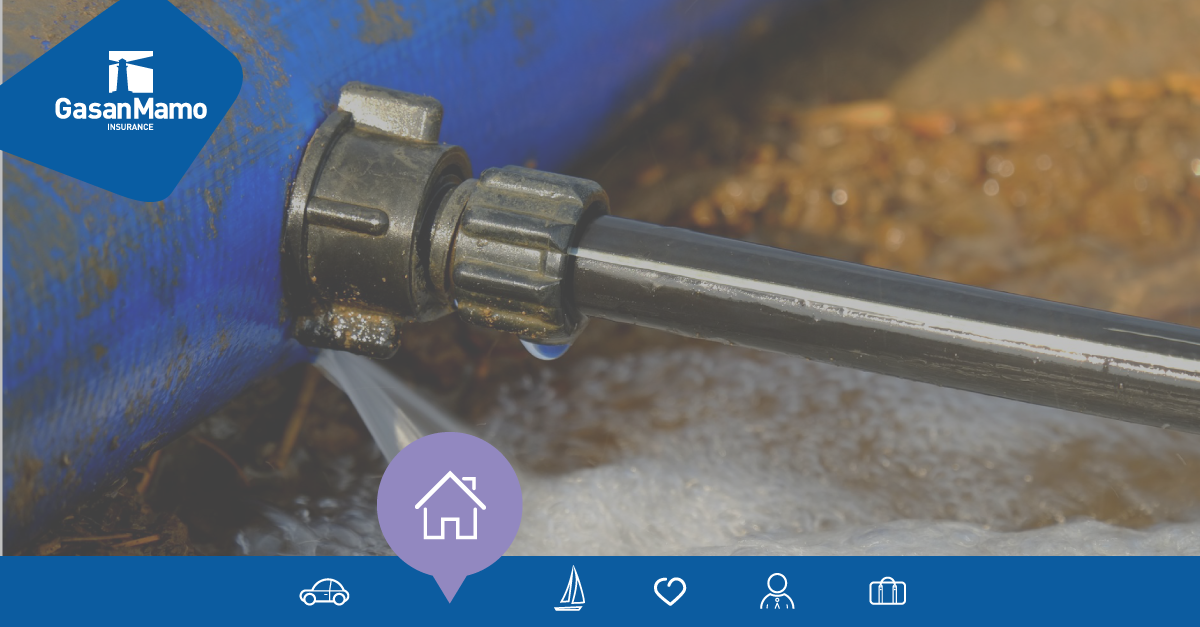
You don’t need to be a plumber to know how to fix a leaking pipe, and it’s definitely important to understand the basics in order to prevent any leak-related mishaps in your home. Follow our step-by-step guide and you’ll be fixing any leaking pipes in no time.
Look Under the Sink
The cupboard under the sink tends to be storage for bottles of washing up liquid and other household bits and bobs. Having a look under the sink every once in a while will make it easier to spot and address any drips. Drips aren’t always caused by a leaky pipe and can be the result of condensation on the pipe, so it’s always a good idea to keep your eye on what’s going on under the kitchen sink.
Make Sure the Water Valve is Off and Turn on the Faucets
Repairing a leaky pipe with the water supply to the pipe still running can cause quite a mess. Make sure that before you start fixing the leaking pipe, you know which valve you should be turning off.
The rule of thumb says that it’s best to shut off the valve that’s closest to the problem, you’ll be able to fix the leaking pipe whilst still having a functioning water supply for the rest of the house. Don’t forget to turn on the faucet after the valve is switched off to drain the water left in the pipes.
Get Fixing
Assuming that the leak is only affecting a small area, you can use a putty knife to apply epoxy to the area where there is leakage. After doing this you should cover the leak with rubber, it’s best to make sure that the entire area is covered to make sure that the problem is entirely fixed.
Once you’ve placed rubber on the leaking area you should tighten a clamp down on the rubber. It might take a while for the rubber to dry so it’s best to wait approximately one hour or more before continuing to fix your leaking pipe.
Finishing Up
Once the rubber has dried use water-resistant tape to cover the rubber. The water-resistant tape will serve as double protection, keeping the leaking pipe fixed. To double-check that the pipe has been fixed simply turn the water valve on. If there is no leak it means that you’ve managed to fix the leaking pipe.
These steps are useful for small leaks, so if you have a bigger leak make sure you get it repaired or replaced by a professional to prevent it from damaging your home.
At GasanMamo, we understand the value of protecting your home and its contents. Our comprehensive home insurance coverage provides the peace of mind you need to face unexpected incidents with ease.
Let GasanMamo Insurance be your reliable support as you maintain and safeguard your home, ensuring a comfortable and worry-free living environment for you and your loved ones.